Pioneer PLX-500w turntable modding (page being updated)
Challenges in this project are primarily around the fiddly nature of the tonearm assembly and the pain-in-the-ars'edness of threading very thin wires through the tonearm and assembly. An early on caution, which I shall come back to later, is to ensure that the anti-skating is set to zero before one starts messing with the assembly.
Mods:
- Tonearm rewire
- Case RCA plugs added
- External ground post added to case
- Internal amp bypass

Tools required
- Soldering iron
- Wire cutter
- Wire stripper
- Cotton thread
- Phillips head screwdrivers (large and small)
- Drill
- Wrench or pliers
- Tweezers or long nose pliers
Optional:
- De-soldering wick
- Solder heat sink (alligator clips will do)
- Helping hand
- Magnifier

What I use*
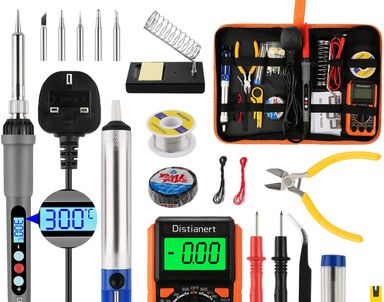
Distianert Soldering Iron Kit (Amazon)
MMOBIEL Helping Hand (Amazon)
1/8 Inch Desoldering Wick/Braid (Amazon)
TRYBEST Wire Strippers (Amazon)
* Please note that I do not make recommendations. You will need to decide on what tools suit your purpose. I am simply sharing what I use.

Getting started
Preparation
- Removed the dust cover.
- If you have a stylus protector, put it on. I removed the headshell from the tonearm.
- Engaged the tonearm clip to secure the tonearm.
- Removed the platter. This required a firm yank.
- I turned the turntable upside down and used two thick books to support it and allow the tonearm to overhang without touching the surface that I was working on. I have heard suggestions like 'place it on a bean bag'. I have no bean bag.
My Steps:
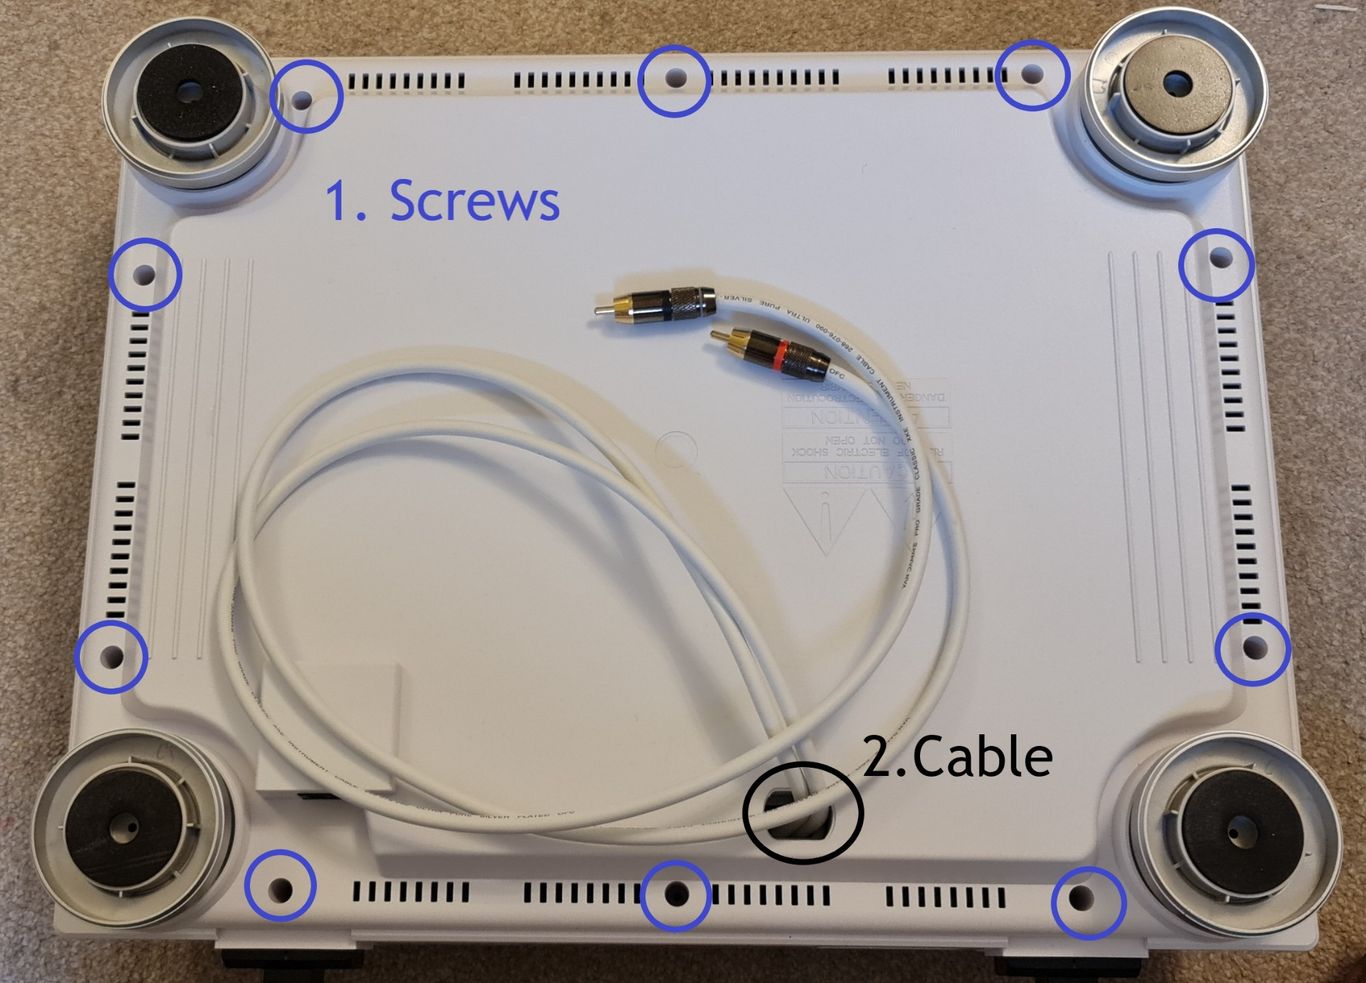
- Undid the casing screws.
- Lifted the casing with a little but firm shake.
- Fed the RCA interconnect cable through the hole.
- Unscrewed the cable clamp.
- Unscrewed casing ground spring.
- Unscrewed printed circuit board (pcb) - including the little side screw near the USB port.
- Unclipped JST connector to remove RCA interconnect cable.
- Unclipped pcb power JST connector (on the side of the pcb - this wire connects it to the adjacent pcb).
*********************************************************
For info:
- JST = Japan Solderless Terminal
- RCA = Radio Corporation of America (they introduced this type of audio plug)
.......... to be continued. More steps to follow.
Brii Rodson ™ and website © Copyright 2021 - Brii Limited. All rights reserved.
We need your consent to load the translations
We use a third-party service to translate the website content that may collect data about your activity. Please review the details in the privacy policy and accept the service to view the translations.
